Installing the .NET Core SDK on macOS
Installing .NET on macOS is necessary because it provides a cross-platform development framework that allows developers to build and run applications on macOS using the .NET technology stack.
Steps
-
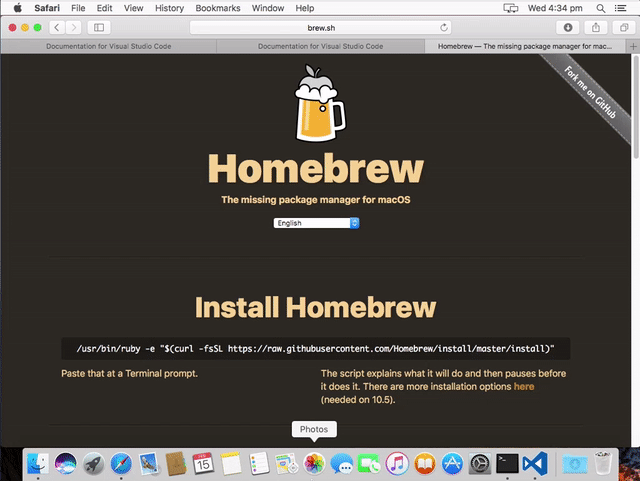
Firstly, we need to install the Homebrew Package Manager. Copy and paste the command given on the website into your terminal.
You will need to enter in your password into the terminal to install Homebrew. Whilst you may type into the keyboard, no password characters will appear for security reasons.
-
Now use
brewfrom your terminal to to install the .NET Core SDK:Terminal window $ brew install dotnet-sdk --caskYou will also need to link the
dotnetcommand into/usr/local/bin:Terminal window $ ln -s /usr/local/share/dotnet/dotnet /usr/local/bin -
To test if the .NET Core was installed successfully, see if the
dotnetcommand exists.$ dotnetIf you’re seeing
command not found, you may you can execute the following command to fix it:Terminal window $ ln -s /usr/local/share/dotnet/dotnet /usr/local/bin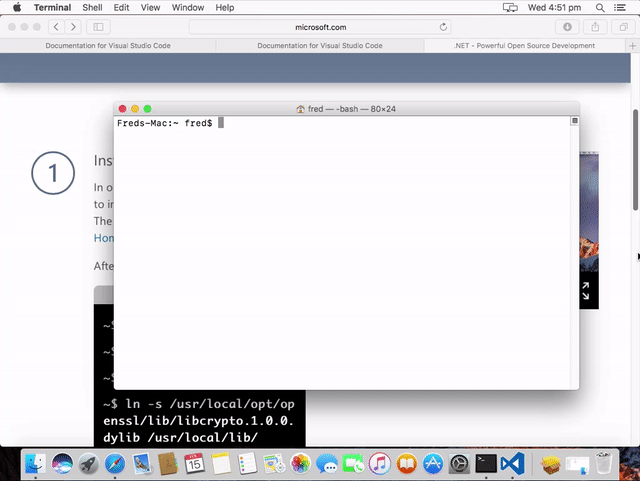
Should you have any other installation issues, review the .NET core release notes or raise an issue on GitHub.
-
In Visual Studio Code you should install the following extensions:
You can do this from the command line by executing:
Terminal window code --install-extension ms-vscode.csharpcode --install-extension k--kato.docommentcode --install-extension vscode-iconsYou can also search for them by opening up the extensions panel. You can use the ⌘+x to open the panel. Then search for the name and click install: